HAPPY IN DOLL LAND..!
With a hazy vision in my head I began assembling things I thought I might need to create a wall doll. This included brushes, all manner of paper scraps and fabric, cardboard, Sculpy modeling clay, tape, various glues, paints, wire, beads, various doll body parts and buttons. 
 After building the doll body I added several layers of paper mache and a small box on the doll body front.
 Then the doll arms and legs were attached.

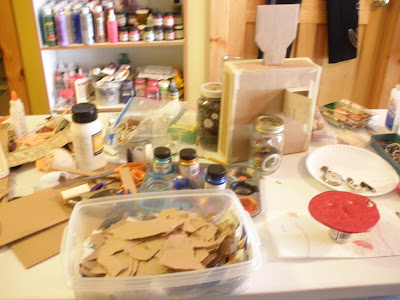
 Before the unveiling of "Mirabella", you have to see the carnage of my studio work tables. It does take awhile to clean up after a project that requires so many elements.

 And now you can begin to see parts of this doll: the body front with a small box attached and containing a small fabric heart.

 After building the doll body I added several layers of paper mache and a small box on the doll body front.

 After building the doll body I added several layers of paper mache and a small box on the doll body front.
9 comments:
I love it!! ...and I can't get this grin off of my face. I can easily see a gallery full of these delightful personalities. Go even BIGGER!!! and smaller. Makes me want to do papier mache. ... You always inspire me. Thanks.
Yeah, she makes me smile every time I look at her! I also had forgotten how much fun paper mache is. You should make a wall doll right now!
Yikes! Your doll looks like a portrait of ME! She is wonderful with the blond hair and bright colors. A real winner! Make more!!! cheers D
Well, yes she does! I didn't realize that! Glad you approve as she is my first effort. I do have plans to make more!
She's fabulous!
Thanks! She makes me laugh!
Doll land looks very creative and fun!
Thanks Penny! Now, go make a doll:)
Post a Comment